glass edge chipping · glass grinding wheel · glass edging machine · grinding wheel selection
Why Glass Edges Chip After Grinding: What to Check
A practical checklist for glass edge chipping after grinding, covering wheel selection, spindle runout, pressure, coolant, grit and process sequence.
A practical checklist for glass edge chipping after grinding, covering wheel selection, spindle runout, pressure, coolant, grit and process sequence. Start by confirming the machine, wheel position and application before comparing a replacement wheel or requesting a quote.
Quick answer
Glass edges usually chip after grinding when the wheel and process are no longer working as a stable system. Check the wheel position and specification, mounting, spindle runout, alignment, contact pressure, coolant, feed speed and glass support. A change in any one of these can make a previously stable glass edge grinding wheel produce more damage.
Check the wheel specification
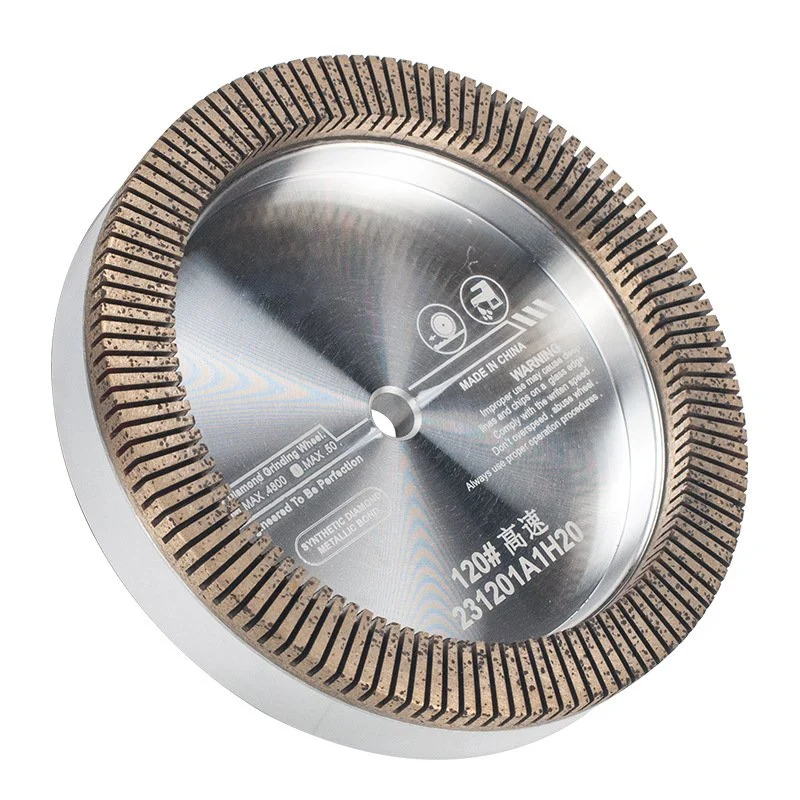
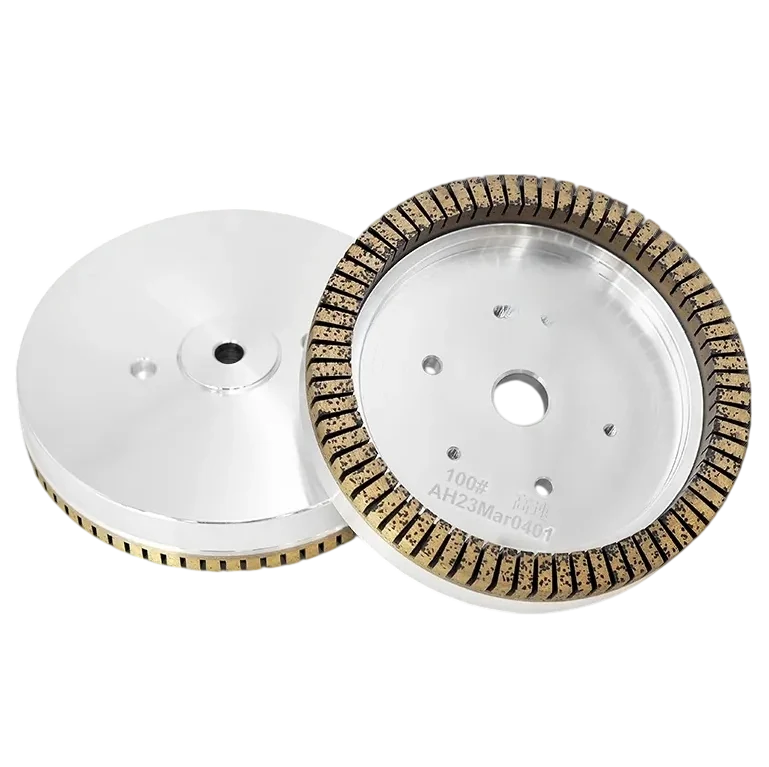
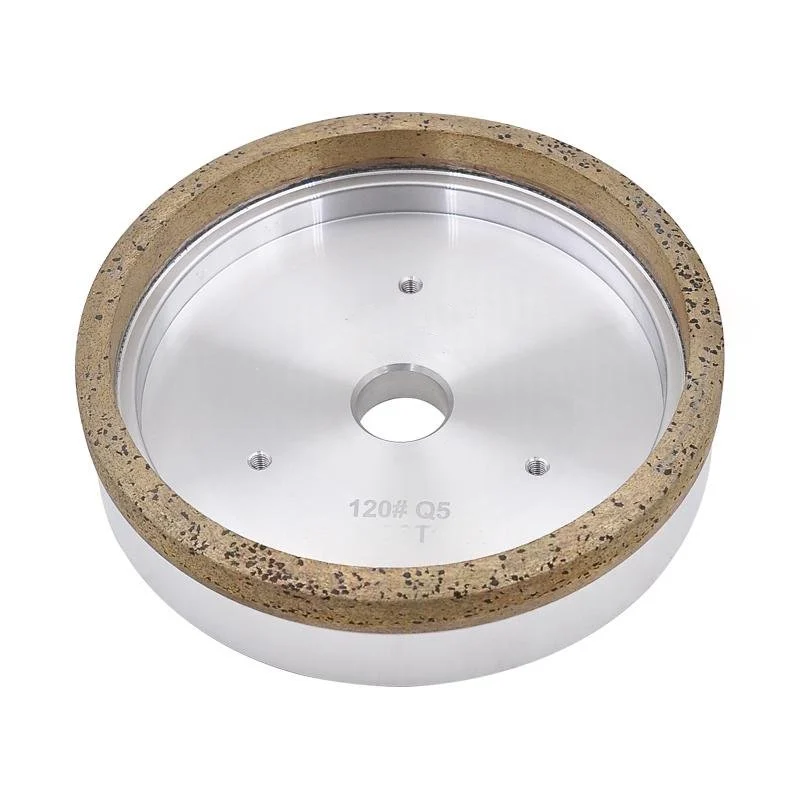
Confirm that the replacement wheel matches the machine position, OD, bore, profile, working layer, grit and bond. A wheel that fits physically may still be unsuitable for the removal amount or edge stage. Diamond grinding is often followed by resin and polishing stages, so the complete grinding and polishing wheel sequence should be reviewed.
Check mounting and spindle condition
Inspect the bore, flanges, seating surfaces and tightening method. Measure spindle runout if possible and confirm that the wheel is not mounted off-center. Vibration or a damaged flange can create periodic chips even when the abrasive specification is correct.
Check pressure, feed and coolant
Excessive contact pressure, an abrupt feed change or insufficient coolant can raise grinding forces and heat. Verify the nozzle position and flow, confirm that the glass is supported throughout the contact area and compare the current feed with the last stable production setting.
Check the order of operations
The first wheel should remove material without overloading the later finishing stages. If a coarse stage removes too much or a finishing wheel is asked to correct an unsuitable edge, chipping may continue downstream. Review the glass edging wheel sequence by machine position and target edge result.
Record the defect before changing several variables
Photograph the chipped edge and record the glass thickness, edge profile, wheel position, wheel dimensions, grit, machine speed, feed and coolant condition. Changing several settings at once makes the cause harder to identify. With those records, a wheel supplier can recommend a targeted adjustment or a custom specification.
Get a technical review
For persistent chipping, contact ZHUIFENG with the machine label, wheel photos and process data. The goal is to match the diamond wheel, resin wheel and polishing stage to the full glass-processing sequence.
Frequently asked questions
Is the grinding wheel always the cause of chipped glass edges?
No. The wheel specification is important, but chipping can also come from spindle runout, alignment, excessive pressure, poor coolant flow, an incorrect wheel sequence or damaged machine components.
What should I check first when edge chipping suddenly increases?
Compare the current wheel position and condition with the approved specification, then check mounting, runout, coolant, feed, pressure and glass support. Record the change so the wheel and process can be reviewed together.